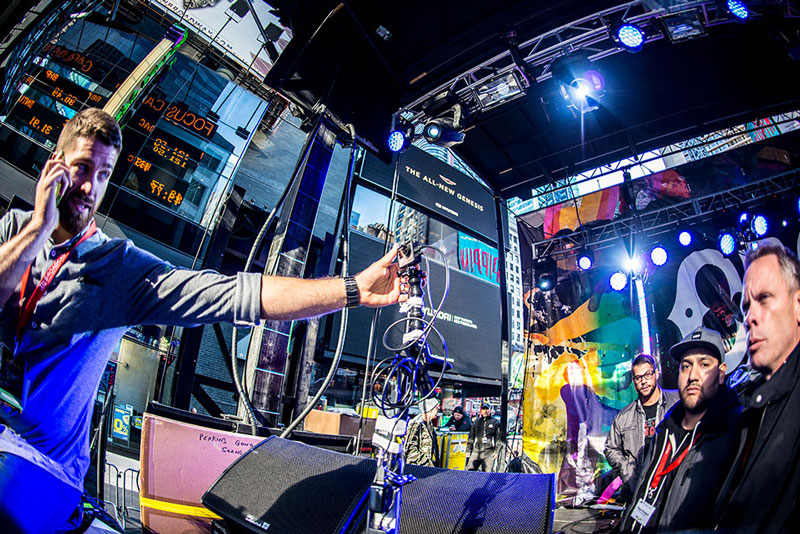
In October 2014, Broadcast Management Group was contracted to provide turn-key video production services for the 2014 CBGB Music Festival in Times Square. We were absolutely thrilled to be asked to take part in the event and wanted to make sure we put a unique stamp on the show. In order to capture the raw spirit of CBGB and everything the brand stands for, we engineered GoPro integration into our live broadcast, which gave the show an extra “live” look and feel. It took some ingenuity, planning and lots of troubleshooting, but the end result was well worth it.
Here’s a step-by-step tutorial on how we did it:
Step 1: Buy your GoPro gear
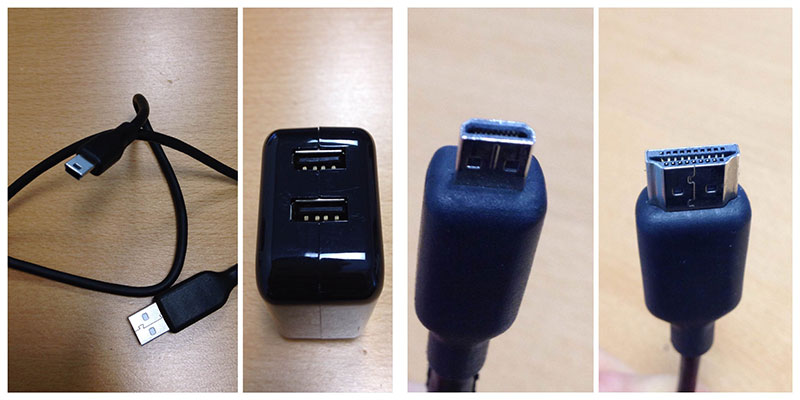
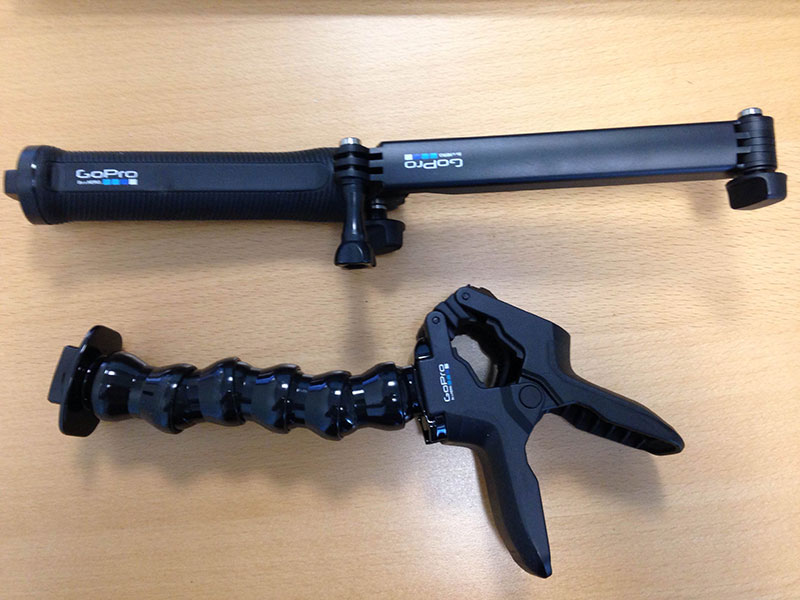
The first step in GoPro integration is buying the right gear. We owned a Hero 3+, but used the project as an excuse to add 3 GoPro Hero 4’s to our repertoire. The Hero 4’s were released the previous week, so we were looking for an excuse to make the purchase. In addition to the Hero 4’s, we needed a power supply for each camera as we didn’t want to run off of the camera battery. We purchased a mini USB to USB cable plus a universal AC adapter to accomplish this (we used the USB cord that comes with the GoPro, but after the event ended up purchasing a 15’ cord from Amazon to give us more flexibility). We also needed micro HDMI to HDMI cables and stands and clamps stands for mounting each camera. We quickly made some close friends at the electronics store we stumbled into looking to make these acquisitions.
Step 2: Configure your GoPro gear for broadcast
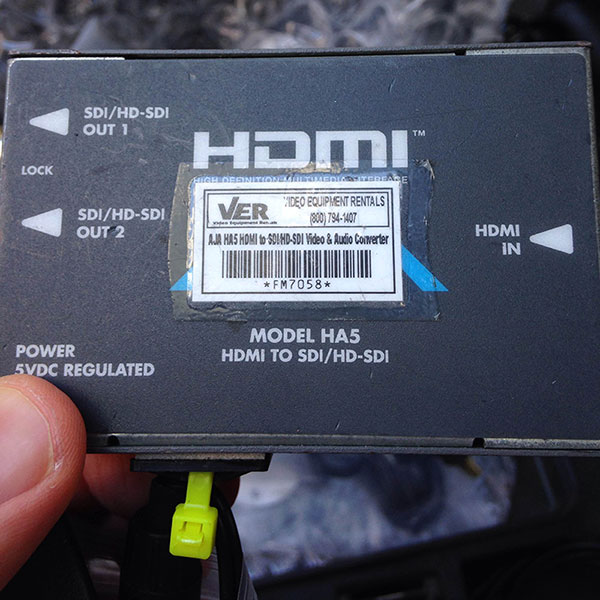
We needed to run a power source to each camera location. Given that the show was an 8-hour event, we wanted to run off of AC power and not battery power. Because our video signal was ran to a truck and ISO recorded, we did not need (or use) micro SD cards for any of the cameras. We also needed an AJA HDMI to SDI/HD-SDI converter box (pictured below), which we connected to each camera using the micro HDMI to HDMI cable. The AJA box also needed to be connected to a power supply (thus another reason for a power source each location). From the AJA box, we ran a fiber line to our production truck where the signal was up-converted from 720p to 1080i. All GoPros, power strips and AJA boxes were mounted to mic stands or to some of the stage rigging using the stands and clamps we purchased and, of course, gaffers tape.
Step 3: Update the GoPro settings
The biggest step in completing your GoPro integration is configuring the camera settings. All cameras had to be set to record in 720p, which meant changing the configuration on each GoPro. Additionally, there’s a menu item for “OSD” in the GoPro settings menu (on-screen display). This had to be set to OFF – otherwise the GoPro menu would display on the monitors in the truck. One thing that proved to be problematic was using the camera’s WIFI and the GoPro mobile app to monitor each camera. Whenever we tried to preview a camera on stage using the app, it seemed to interfere with the signal and would often revert all of the camera settings back to their default. Eventually we began communicating with our director in the truck to work out positioning of each camera. In the future, we plan to integrate some sort of monitoring station on stage so we can easily check any camera adjustments.
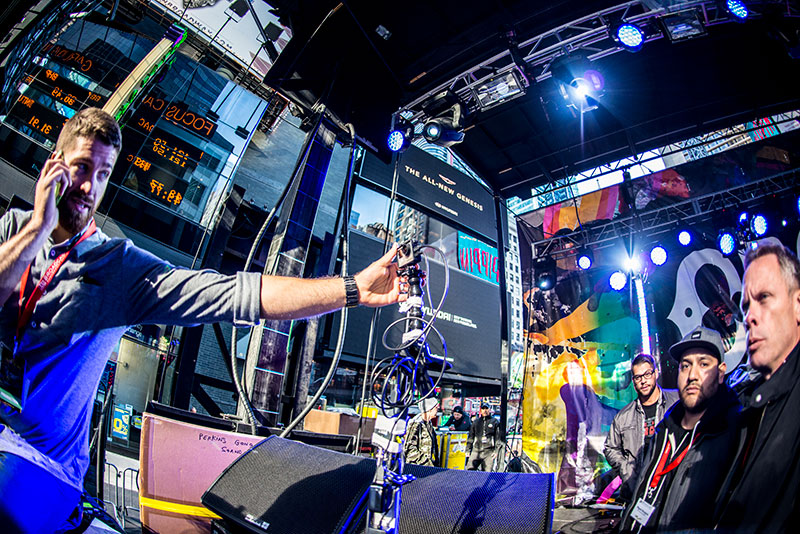
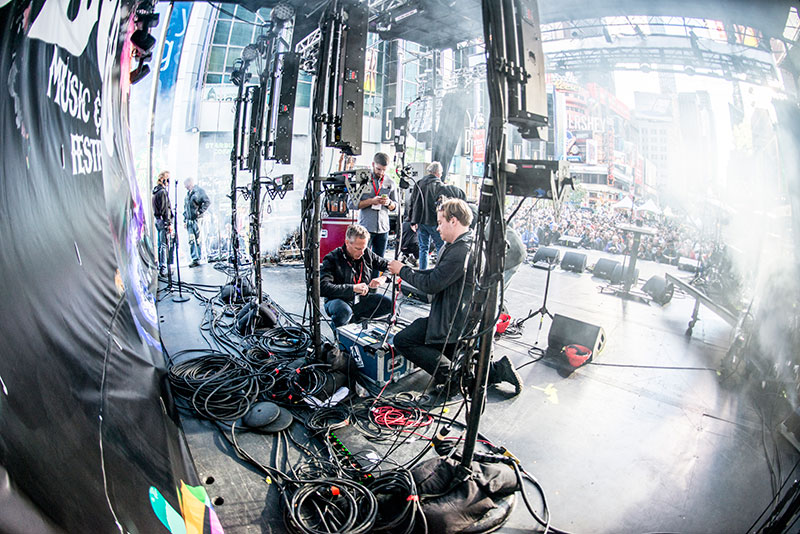
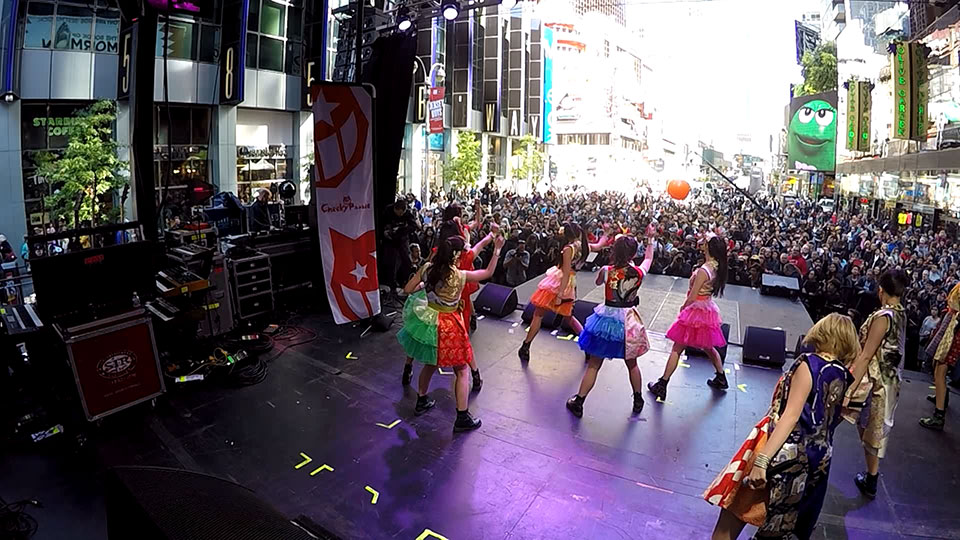
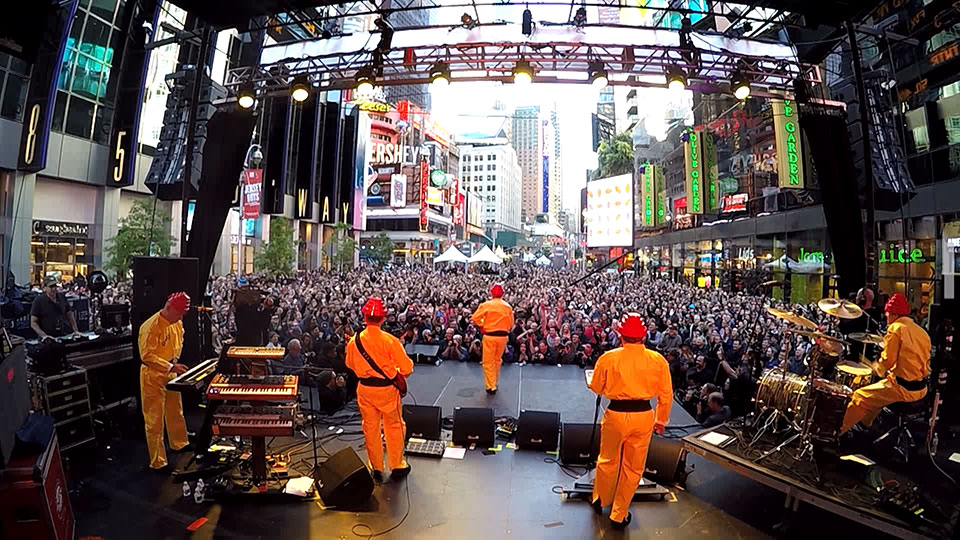
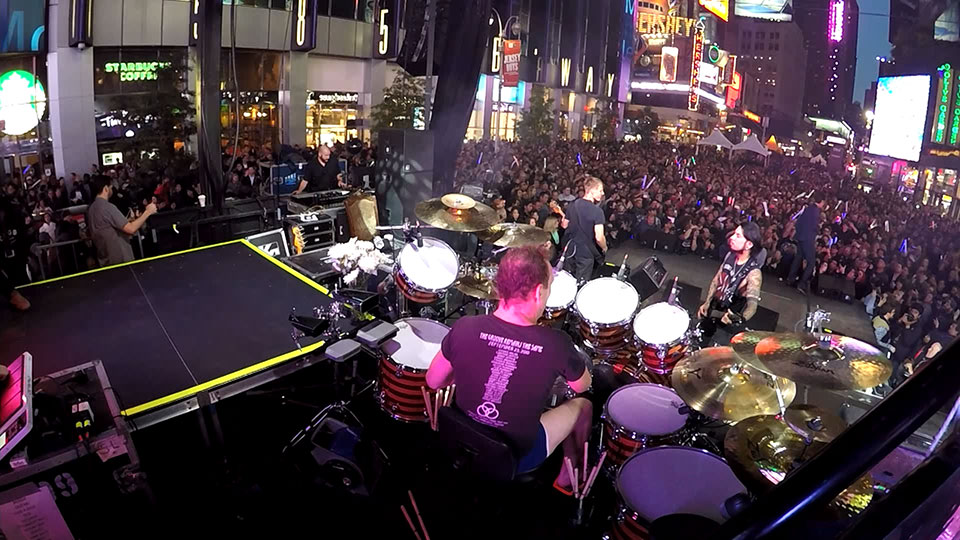
While the GoPro integration did take some time to perfect, eventually we were able to work out any technical kinks and the signal from the GoPros matched very well with our other broadcast cameras. The end result was 4 unique POVs that we wouldn’t have been able to capture any other way. Below are some real screen grabs from the event that were captured using GoPros.


Leave a Reply